Gingerbread Cake – Liv for Cake
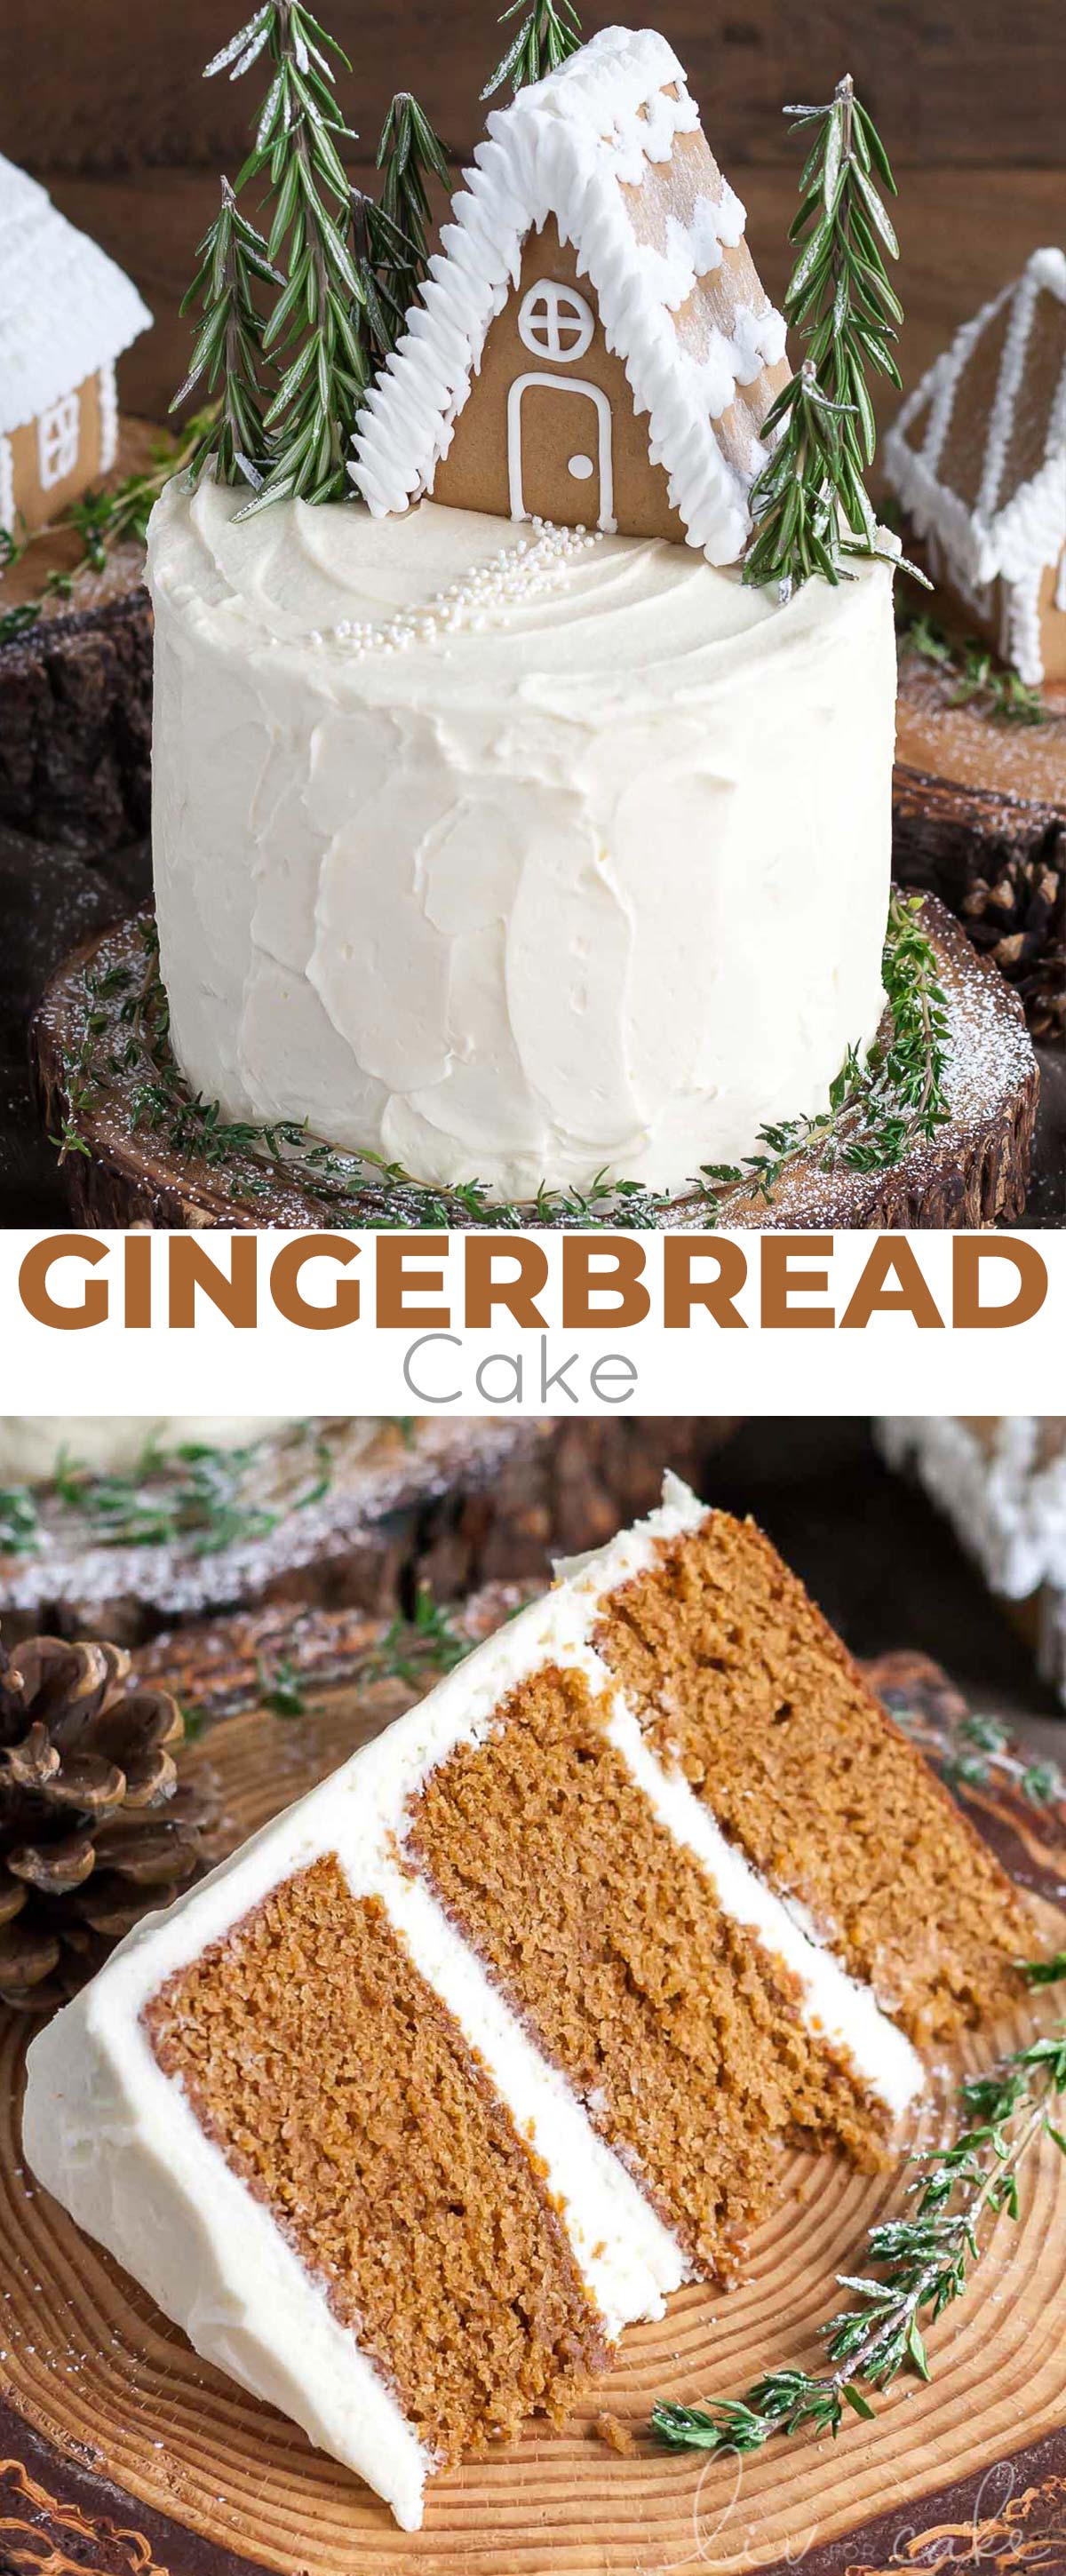
This Gingerbread Cake is perfect for the holidays! A moist and delicious ginger cake with a tangy cream cheese frosting.
My piping game is not on point — I seriously need to spend some time practicing. It would help if my hands weren’t totally shaking any time I try to pipe something.
I could never be a surgeon or a professional Jenga player. Needless to say, the most tedious and frustrating part of this gingerbread cake was the gingerbread houses.
What I thought would be a quick, easy, adorable addition turned out to be a huge pain in the butt. Mostly due to my impatience, which is nothing new!
I always have a hard time trying to decide how I want to decorate my cakes. I usually end up on Pinterest, disillusioned and grumpy, searching for ideas.
The inspiration for this gingerbread cake came from this adorable one that I came across. SO cute right?? Her gingerbread houses are clearly homemade, but there was no way I was doing that.
Mini Gingerbread Houses
So there I am, 10pm on a Tuesday night, and I’m searching online for mini gingerbread houses, wondering where I can get them asap locally.
I can’t even remember how I knew that you could buy a mini gingerbread house kit. Maybe I had seen it somewhere before? No idea.
These were easier to find than expected, but of course, I was panicked about it since I had a schedule I wanted to stick to. I was thisclose to heading to Walmart at 10:30pm to check if they had them.
Sanity kicked in and I waited till the next day and got them at Michaels. Of course, I’m seeing them everywhere now!
The fact that the gingerbread kit came with pre-made royal icing was a bonus. This was going to be so easy! (Yeah right).
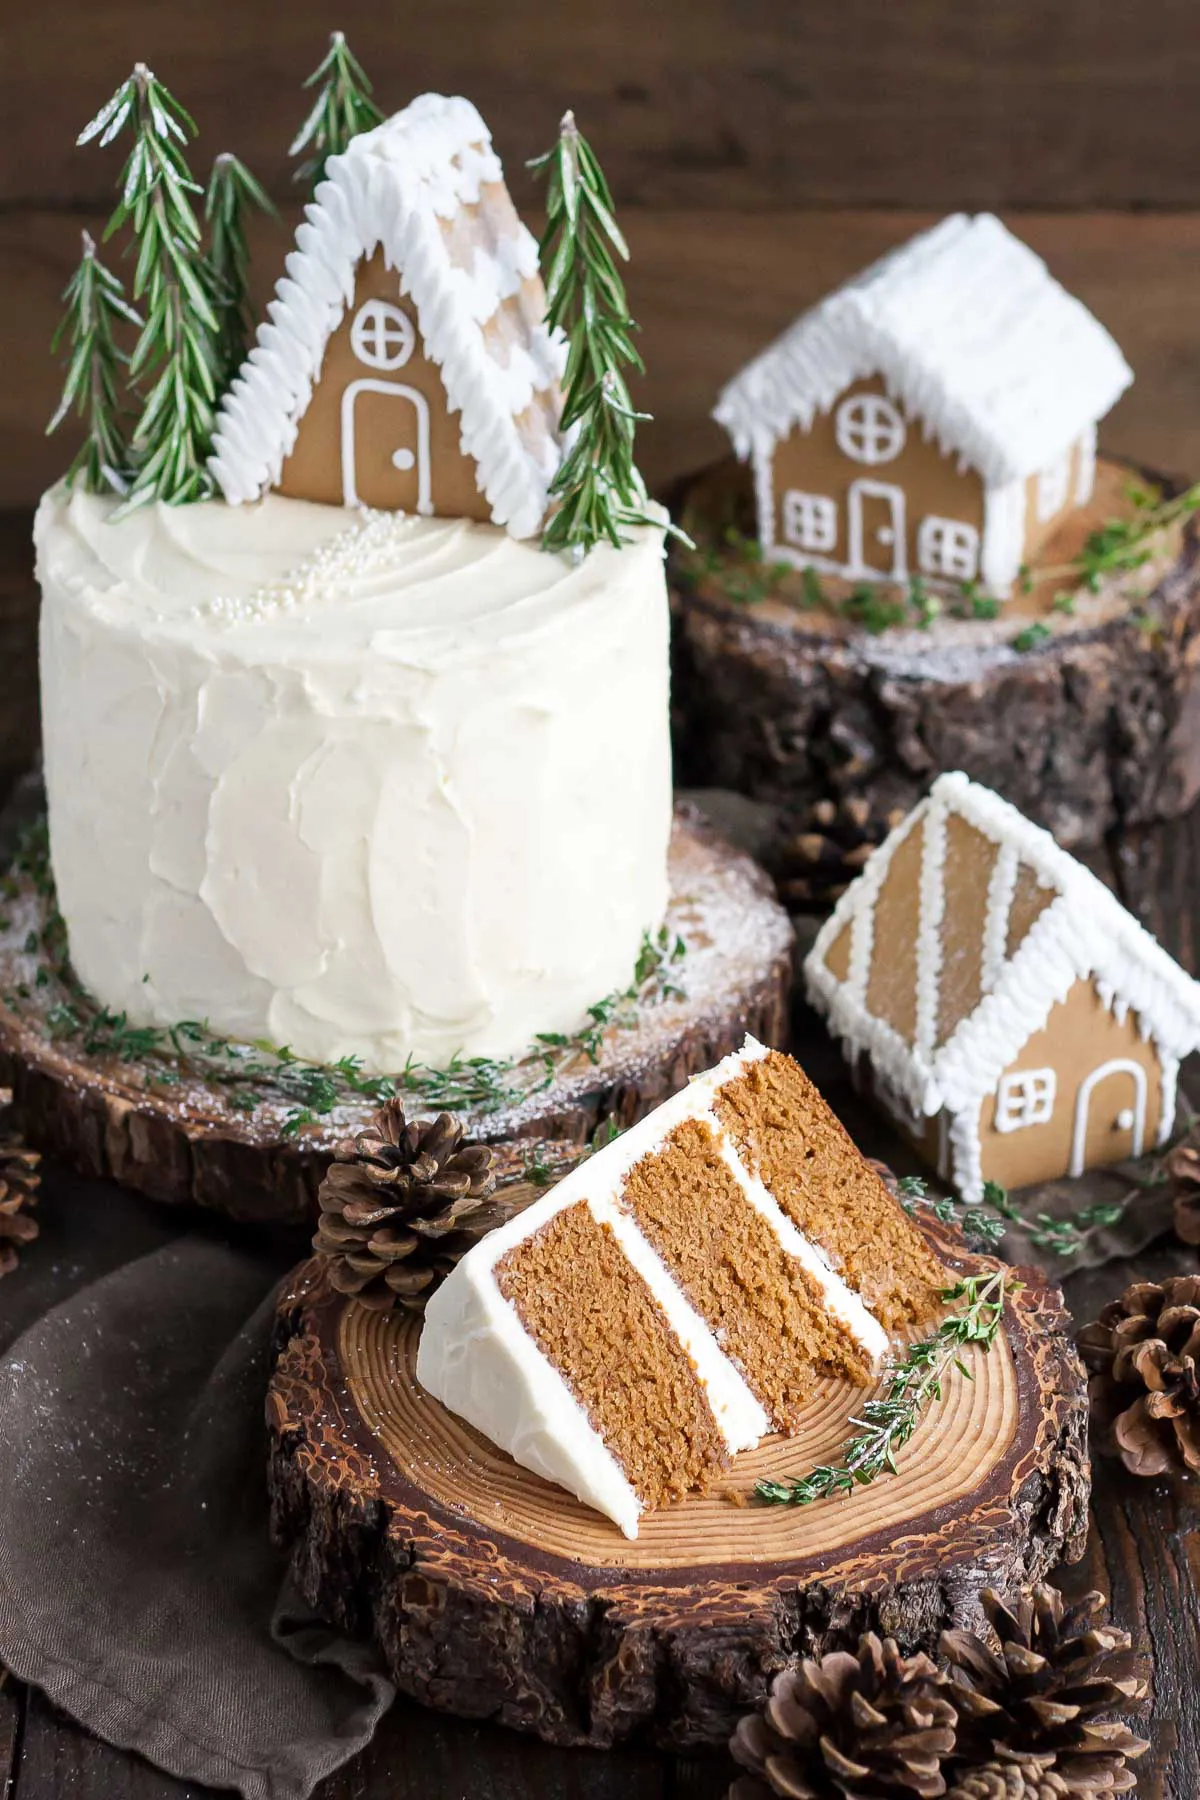
I separated all the pieces and trimmed them so they were perfectly straight and the same size. You don’t need to do this, but it certainly helps with assembly and getting a cleaner look.
I piped the details of each side and roof before assembling the houses, as I figured it would be easier that way (it was, for the most part).
The issue came with the waiting time.
You had to wait like an hour (at least) for the icing to dry so you could assemble the houses. Then, once the sides were put together, you were supposed to wait like 3 more hours before putting the roof on – what?! Who has that kinda time/patience? Not I.
I did wait a good hour and was pretty proud of myself for even lasting that long. To no surprise, the houses weren’t quite set and were wobbly as I was putting them together. For the most part, it went ok, except for the ONE house I wanted to be perfect: the damn A-frame.
This one was the trickiest to put together because it doesn’t have 4 walls standing so you can just slap the roof on. It had to be assembled in one go.
Decorating these pieces in advance made it harder to put this one together. Now that I think about it, I probably should have read the instructions on how to put this one together properly. Meh. Anyhow, it was a mess.
The front and back kept sliding inwards, and I hadn’t let the decorations on the roof dry enough, so I was making nice dents in them. SIGH. Finally, it was standing on its own and I left it… for about an hour (NOT long enough).
I still had to put the finishing touches on it — the icing around the front (which I scraped off 3x because I didn’t like it) and the icicles (which you can’t even really tell are there). Needless to say, the stupid thing collapsed on me multiple times, and I ended up having to take it apart altogether and redo it.
Why is nothing easy? Oh yeah, because I rush and don’t follow instructions.
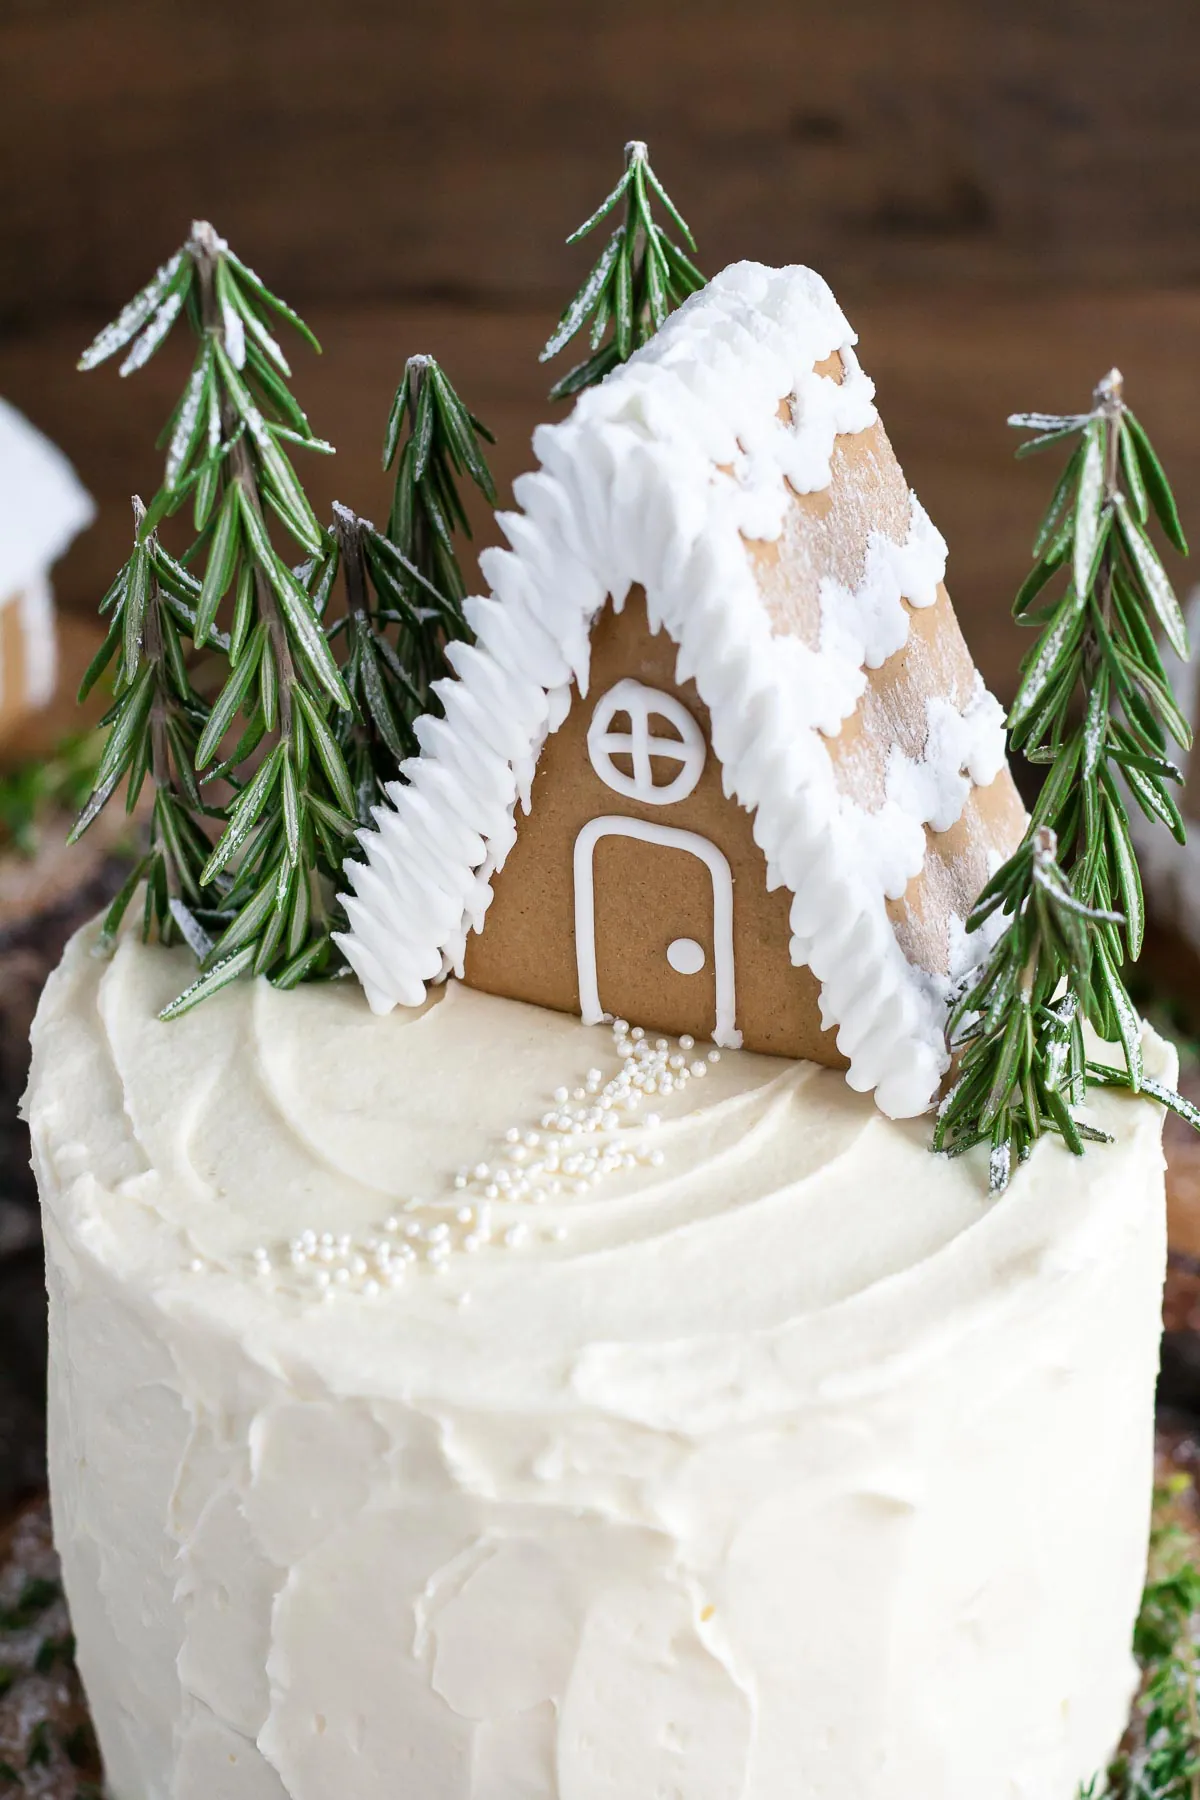
ANYhow, after spending WAY more time than expected on these houses, I had finally finished them and left them to set properly overnight.
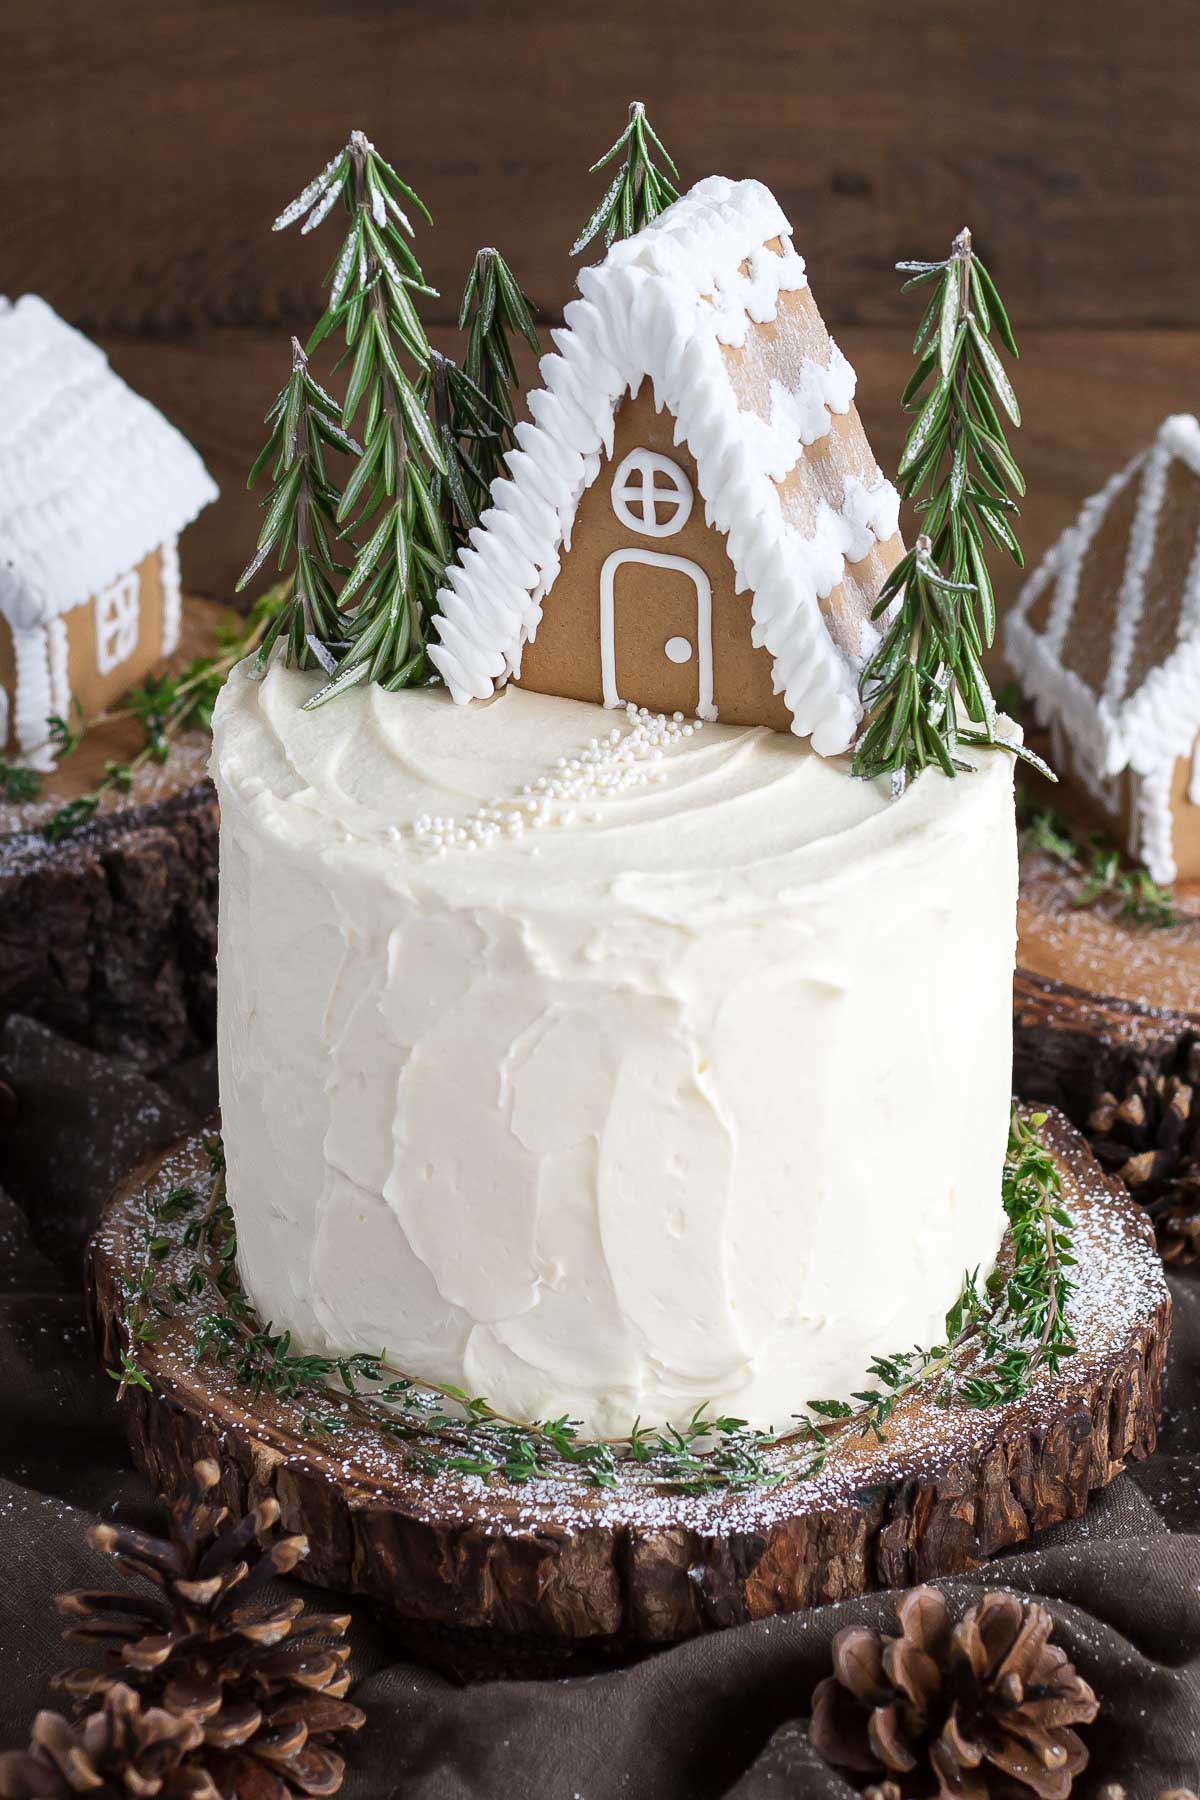
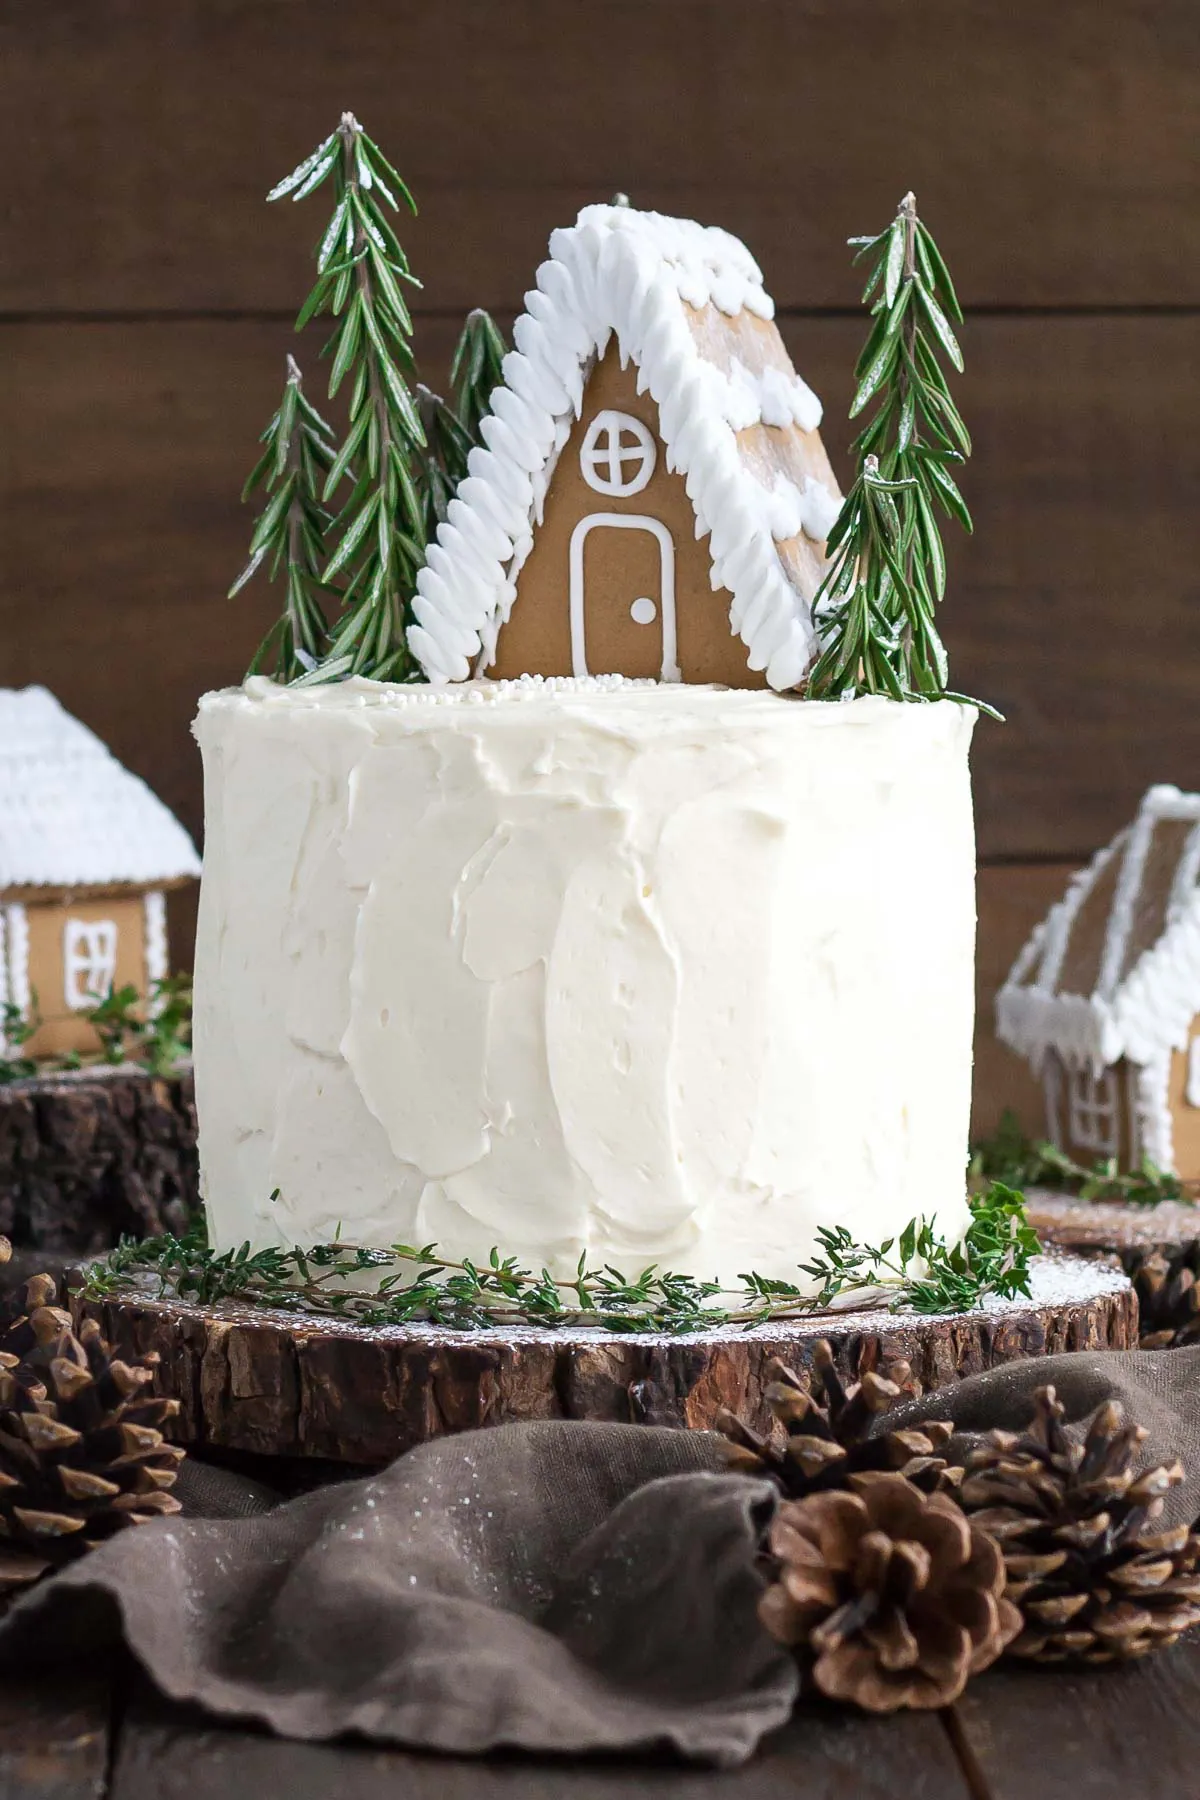
I wasn’t going to use the A-frame on the cake after all since I wasn’t happy with how it turned out, but it was really the only one that fit properly on this 6″ cake. Plus, I still think it’s the cutest one. So, despite it not being perfect, there it is, perched on top of this Gingerbread Cake.
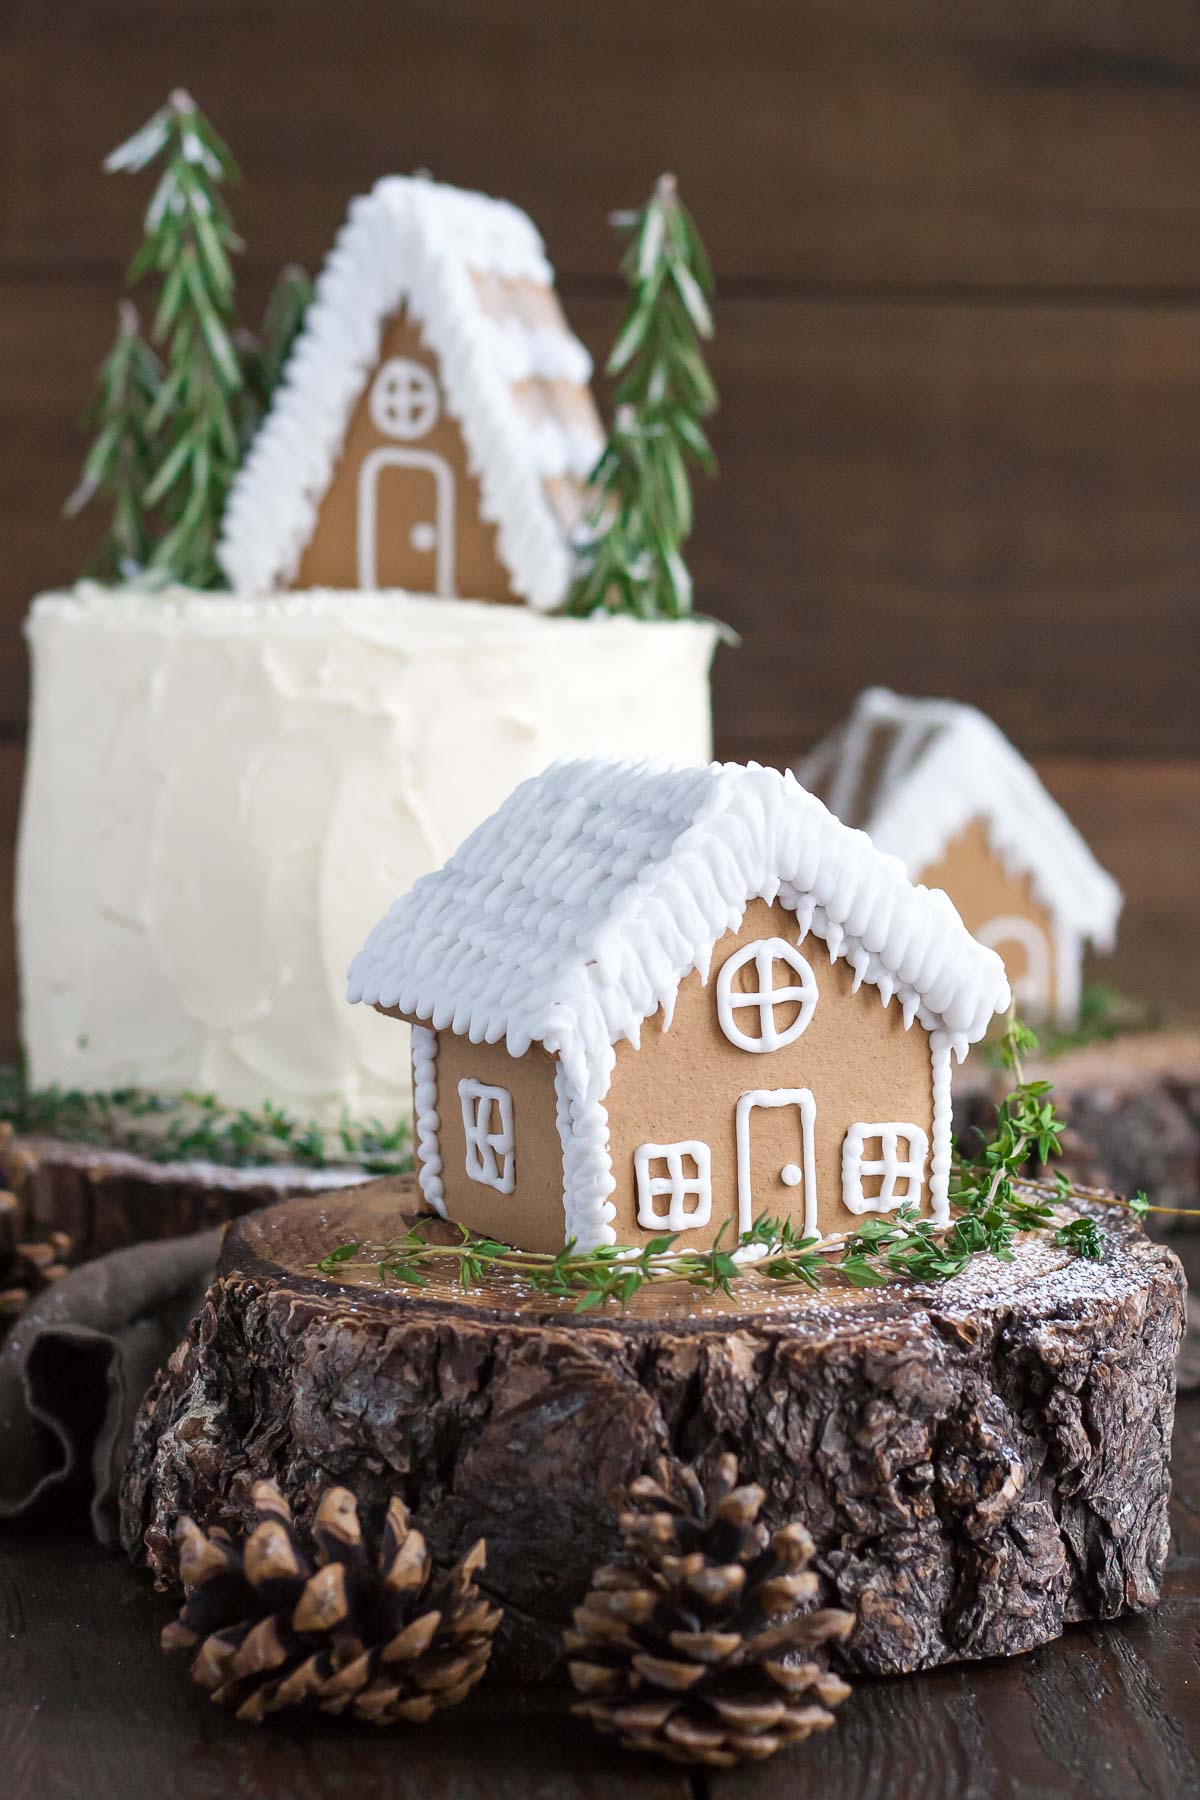
I used Wilton petal tip #102 (I think? I’m also terrible at writing things down – it was either #102 or #103) to do the front of the houses, but otherwise, I used the small round tip that was provided in the kit.
I love how well the petal tip worked! This was actually the first thing I tried on the A-frame, but I decided I didn’t like it, scraped it off, tried a couple other ways, scraped those off, and redid the ruffle… again. FML.
How to Make this Gingerbread Layer Cake
House decorating issues aside, I’m pretty happy with the way this Gingerbread Cake turned out! It is a simple and delicious recipe. The key thing is to use the right molasses. Do not use blackstrap. Blackstrap molasses is way too strong and will overpower the cake.
We can get fancy molasses here in Canada, but if you can’t find that regular unsulphured molasses will work too. If the only thing you can find is blackstrap then use half blackstrap and half golden syrup. If you can’t find molasses at all, treacle is a great substitute!
Cream Cheese Frosting
The frosting is a simple and delicious cream cheese frosting. I have since revised the recipe for the cream cheese frosting I use, but either one is equally delicious.
The little rosemary trees are my favorite part! Really, this Gingerbread Cake would look just as pretty with just a rosemary tree forest and no house at all. Maybe an idea for a cake next year.
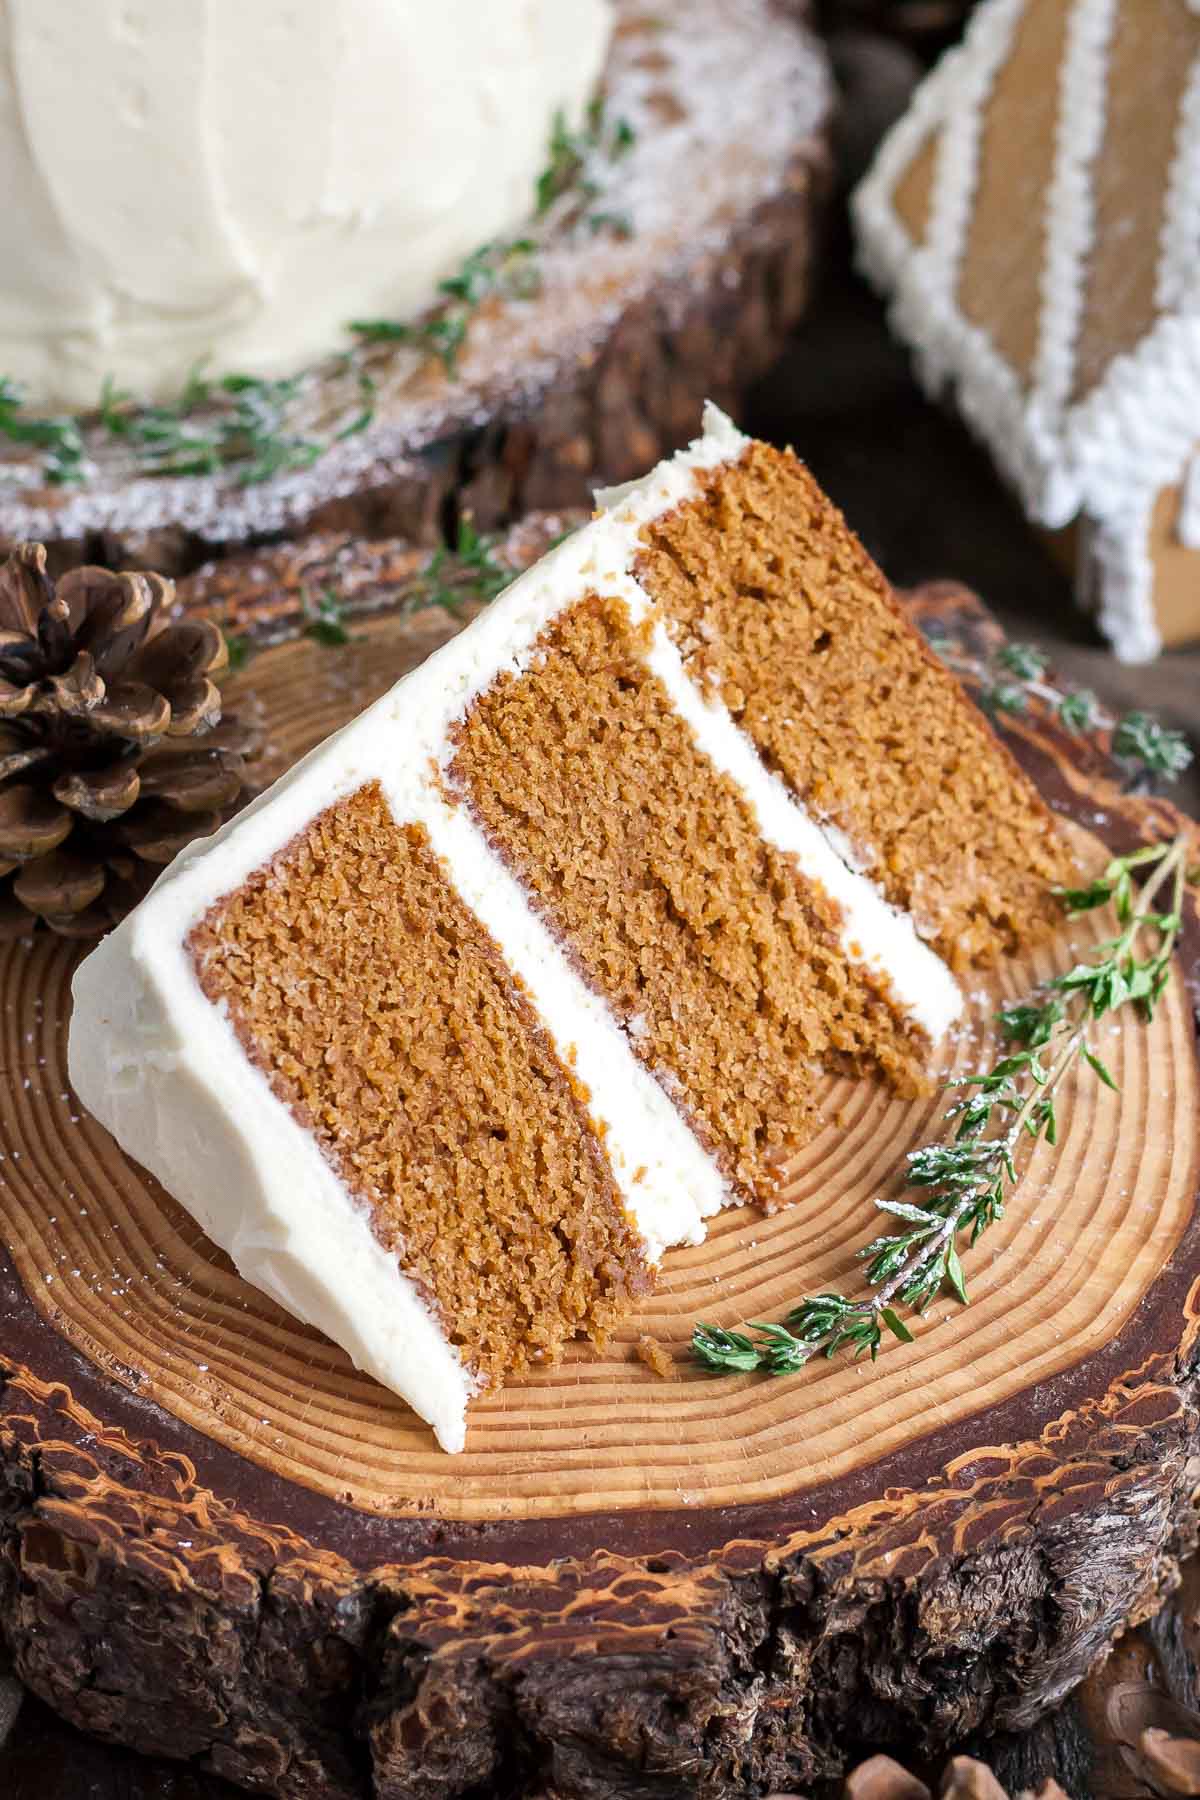
This Gingerbread Cake is honestly one of the best things I’ve ever had. It tastes like a Starbucks gingerbread loaf, but a million times better.
The tangy cream cheese frosting pairs so well with the sweet spice cake. A perfect cake for your holiday celebrations!
Frequently Asked Questions
How can I convert this recipe?
- The recipe as-is will also work in two 8″ pans. For three 8″ pans, 1.5x the recipe. Baking time may need to be adjusted.
- To make cupcakes, all you need to do is reduce the baking time — start checking at 15mins or so. The recipe will make 18-24 cupcakes depending on size.
- For other conversions go here. Bake time may vary depending on pan size.
- Baking time will vary if you change the pan size. Every oven is different so I can’t say for certain what you’ll need to adjust it to. Be sure to check on the cakes while they are baking.
Can I make it in advance?
- The cooled cake layers can be baked ahead of time, double wrapped in plastic wrap, and frozen for up to 3 months. Take out 2-3 hours before assembly.
- The frosting can be placed in an airtight container and refrigerated for 1 week or frozen for 3 months. Bring to room temp and rewhip before using.
- The finished cake (whole or sliced, stored airtight) can be frozen for up to 3 months.
Can I get the measurements by weight/grams?
- There is a Metric option in the recipe card. If you click it it will convert everything to grams.
- This conversion is done automatically and I cannot guarantee the accuracy but many readers have had success using the metric option on my recipes.
What if I don’t have buttermilk?
- Buttermilk is not optional and cannot be swapped for milk as it will affect the overall result.
- For best results, use actual buttermilk, but if you don’t have any you can make your own at home by combining 3/4 cup of milk (whole milk ideally, but I often just use 1%) with 2 teaspoons of lemon juice or vinegar and letting it sit for 10mins.
Why can’t I use Blackstrap molasses?
- Blackstrap molasses is quite a bit stronger than the fancy molasses I’ve used here. It will overpower the flavor. If that’s all you can find I recommend using half the amount of molasses and adding an equal part of golden syrup. Unsulphured molasses should work fine.
- If you can’t find molasses at all, treacle is a great substitute.
Tips for this Gingerbread Cake:
- Dec 15, 2019 – Recipe revised to make taller layers. The layers should bake up to be 2″ tall in three 6″ cake pans.
- This recipe uses fancy molasses, which is a lighter, sweeter molasses. Do NOT use blackstrap molasses. If that’s all you can find, use half blackstrap and half golden syrup.
- If you have gingerbread spice mix you can use 3 3/4 tsps of that instead of the spices in the cake batter.
- If you plan to make gingerbread houses as decoration, learn from my mistakes and let them set properly between stages.
- Learn how to keep your cakes moist using Simple Syrup.
- To help ensure your cake layers bake up nice and flat, see my tips here.
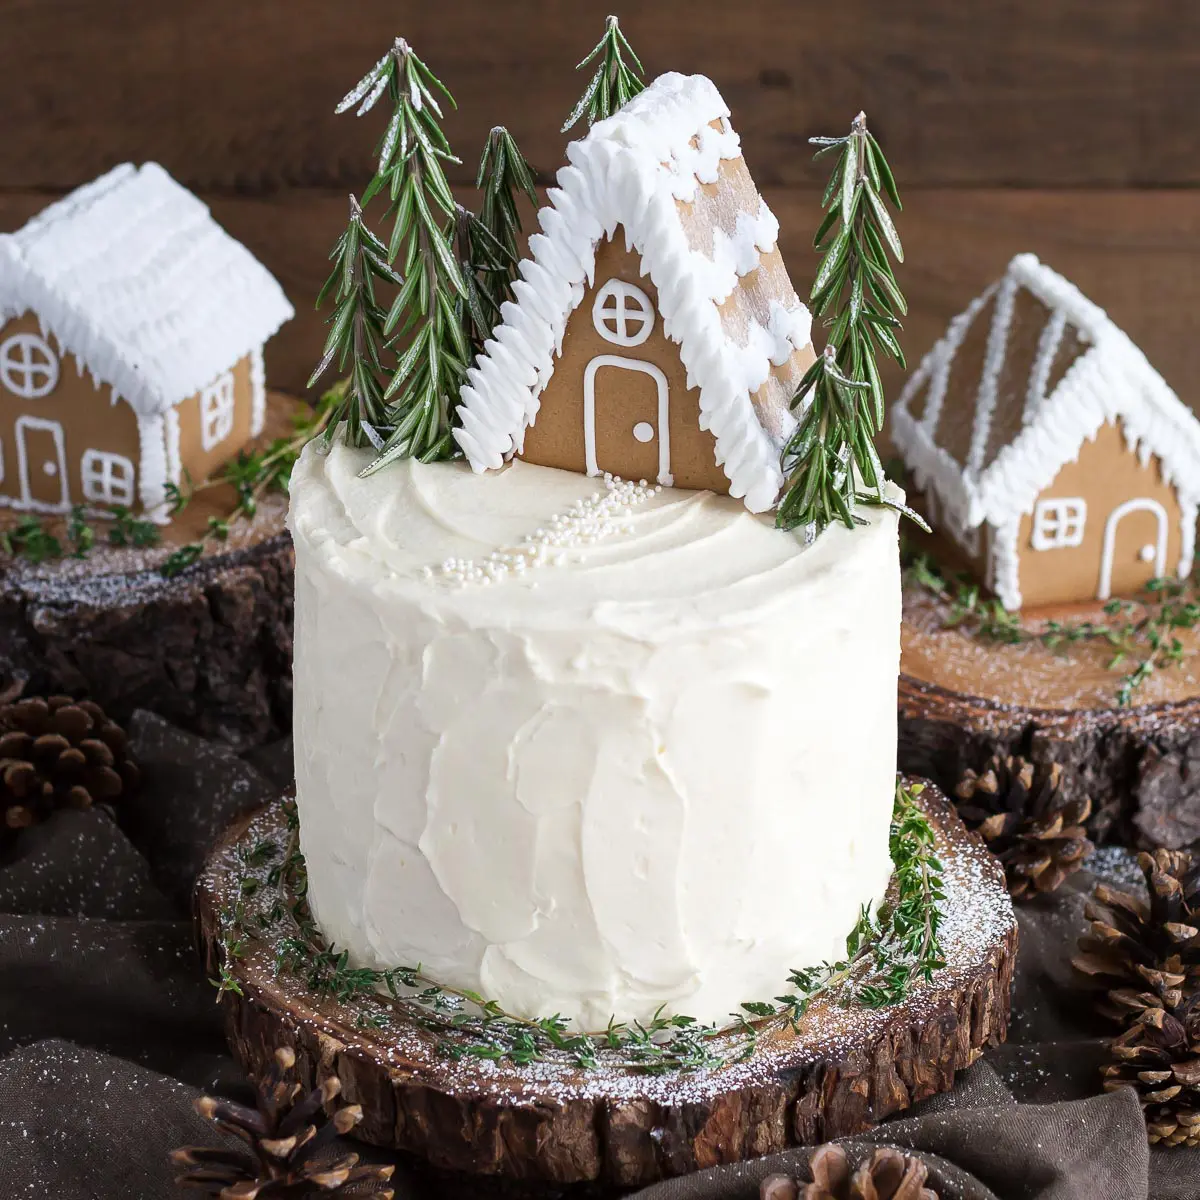
Gingerbread Cake
This Gingerbread Cake is perfect for the holidays! A moist and delicious ginger cake with a tangy cream cheese frosting.
Servings 12
Calories 543kcal
Ingredients
Instructions
Gingerbread Cake:
-
Preheat oven to 350F and grease and flour three 6″ cake rounds, line with parchment.
-
In a medium bowl, whisk flour, baking powder, salt, and spices. Set aside.
-
Using a stand mixer fitted with the paddle attachment, beat butter until smooth. Add sugars and beat on med-high until pale and fluffy (2-3mins).
-
Reduce speed and add eggs one at a time, fully incorporating after each addition. Add molasses and vanilla and mix until incorporated.
-
Alternate adding flour mixture and buttermilk, beginning and ending with flour (3 additions of flour and 2 of milk). Fully incorporating after each addition. Do not overmix.
-
Spread batter evenly into prepared pans. Smooth the tops with a spatula.
-
Bake for approx. 30-35mins or until a toothpick inserted into the center comes out mostly clean.
-
Place cakes on wire rack to cool for 10mins then turn out onto wire rack to cool completely.
Assembly:
-
Place one layer of cake on a cake stand or serving plate. Top with 2/3 cup of frosting. Repeat with remaining layers and apply a thin coat of frosting all over the cake to crumb coat. Chill for 20mins. Frost the cake with a rustic pattern using the remaining buttercream.
-
Top with gingerbread and sprigs of rosemary if desired.
Calories: 543kcalCarbohydrates: 68gProtein: 4gFat: 29gSaturated Fat: 17gCholesterol: 108mgSodium: 176mgPotassium: 330mgSugar: 55gVitamin A: 960IUCalcium: 97mgIron: 1.7mg
The nutritional information and metric conversions are calculated automatically. I cannot guarantee the accuracy of this data. If this is important to you, please verify with your favorite nutrition calculator and/or metric conversion tool.
Updated Nov 1, 2022. Originally published Nov 27, 2016.


